

Hey there! As a supplier of Stainless Steel Bathroom Floor Drains, I've seen firsthand how crucial proper alignment is during installation. A misaligned drain can lead to all sorts of problems, from poor drainage to water damage. So, in this blog, I'm gonna share some tips on how to ensure the proper alignment of a stainless steel bathroom floor drain during installation.
Pre - installation Checks
Before you even start the installation process, there are a few things you need to do. First off, make sure you've got all the right tools. You'll need a measuring tape, a level, a drill, and some appropriate sealants. Having the right tools on hand will make the whole process a lot smoother.
Next, take a good look at the bathroom floor. Check for any cracks, unevenness, or other damage. If there are any issues, you'll need to fix them before installing the drain. Uneven floors can really throw off the alignment of the drain, so it's important to get the floor in good shape.
Measuring and Marking
The first step in getting the drain aligned properly is accurate measuring. Use your measuring tape to find the center of the area where you want to install the drain. Mark this point clearly on the floor. You can use a pencil or a piece of masking tape.
Then, measure the diameter of the drain. You need to mark a circle on the floor that's the same size as the drain. Make sure the circle is centered around the point you marked earlier. This circle will be your guide for cutting the hole in the floor.
Cutting the Hole
Once you've marked the circle, it's time to cut the hole. Use a drill to make a small pilot hole at the center of the circle. Then, use a hole saw or a jigsaw to cut along the marked circle. Be really careful while cutting to make sure you follow the line accurately. A wobbly cut can lead to misalignment.
Checking the Drain Pipe
Before you install the drain, you need to check the drain pipe. Make sure it's clean and free of any debris. A clogged pipe can cause drainage problems even if the drain is perfectly aligned. Also, check the pipe's angle. It should slope downward towards the main sewer line. If the pipe isn't sloped correctly, you might need to adjust it.
Installing the Drain
Now, it's time to install the drain. Place the drain into the hole you cut. Use a level to check if it's sitting flat on the floor. If it's tilted, you'll need to adjust it until it's level. You can use shims or a bit of mortar to make small adjustments.
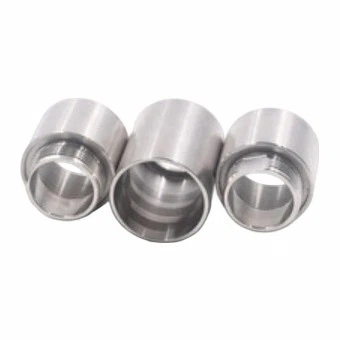
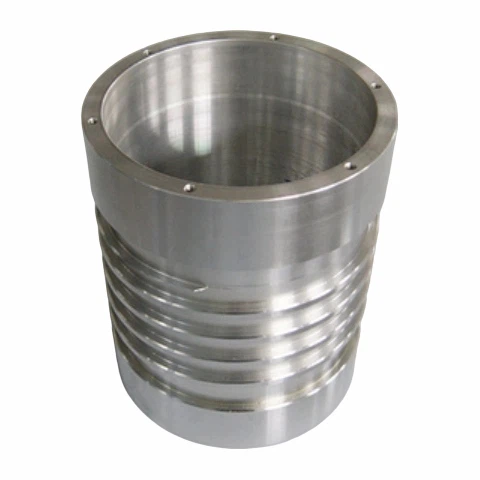
Once the drain is level, connect it to the drain pipe. Make sure the connection is tight. You can use a rubber gasket or a sealant to prevent leaks.
Final Checks
After installing the drain, do a final check. Pour some water into the drain to see how it drains. The water should flow smoothly without any pooling. If there are any issues, you might need to adjust the alignment or check the pipe again.
Related Products
If you're working on a bathroom project, you might also be interested in some of our other products. We offer Stainless Steel Machined Parts that can be used in various bathroom fixtures. Our Non - standard Stainless Steel Square Tube is great for custom - made bathroom frames. And if you're looking for a stylish way to enclose your bathroom area, our Modular Stainless Steel Railing is a perfect choice.
Why Choose Our Stainless Steel Bathroom Floor Drains
Our stainless steel bathroom floor drains are made from high - quality materials. They're durable, corrosion - resistant, and easy to clean. We've got a variety of styles and sizes to choose from, so you can find the perfect drain for your bathroom.
Contact Us for Procurement
If you're interested in our Stainless Steel Bathroom Floor Drains or any of our other products, we'd love to hear from you. Whether you're a contractor working on a big project or a homeowner doing a bathroom renovation, we can provide you with the products you need. Just reach out to us to start a procurement discussion.
References
- "Bathroom Installation Handbook" by Home Improvement Experts
- "Stainless Steel in Construction" by Industry Specialists